Can’t believe it’s number six of our Christmas crafts today! As crafts number 4 & 5 (magnets and blocks) could easily be given as gifts, we thought that we would help you with the gift wrap today! We have these really easy (and cute!) gift tags…
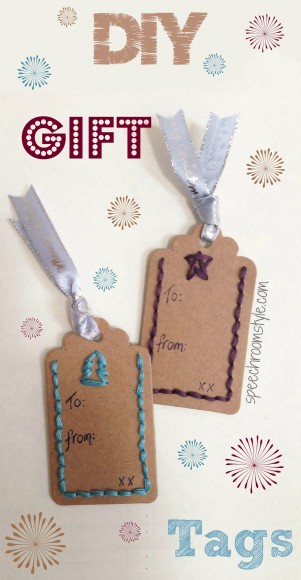 These little tags are made by stitching onto card – I just love the effect that stitching onto card makes – so rich yet traditional. These would go wonderfully with a special gift to someone. Before you start, there are a few things you will need:
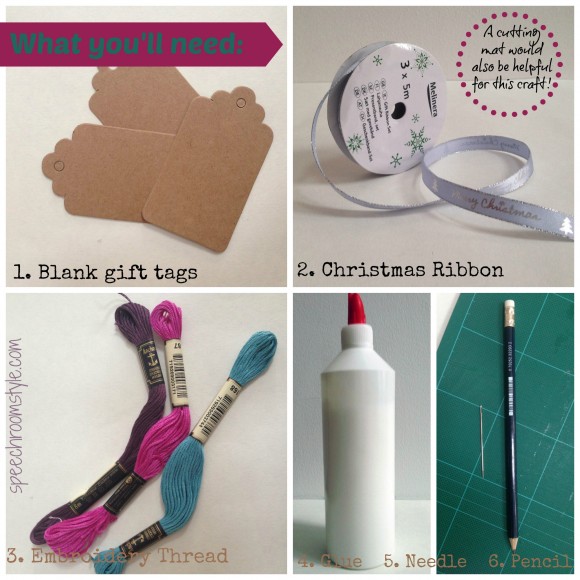 Once you have gathered together your materials, you can create your gift tags with these few easy steps:
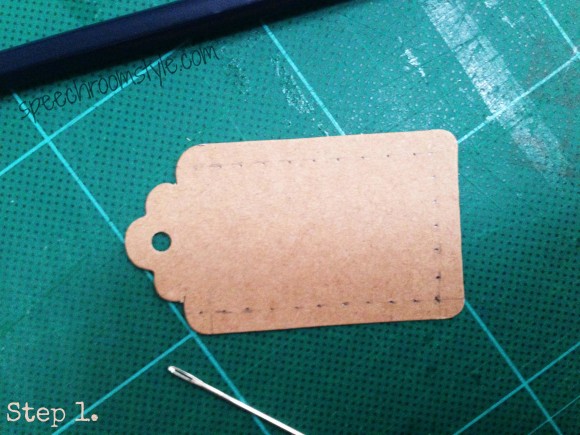
- Using a pencil, draw a light line around the edge of your blank tags – about 1/4″ in from edge. Along these lines, evenly space some dots with your pencil – about 3/8″ apart.
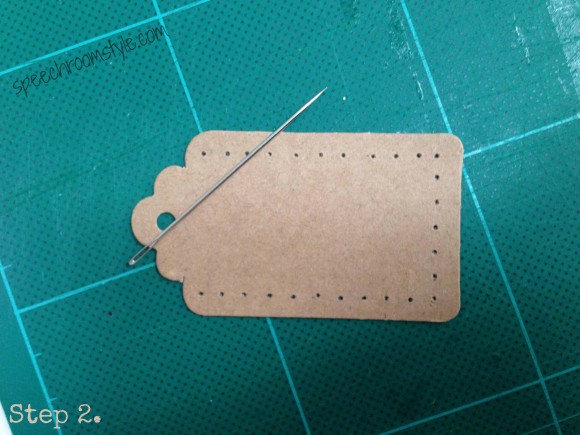
 Now you need to punch the holes – using a needle and leaning on card or a cutting mat, punch little holes through your pencil dots. Rub away all your pencil markings.
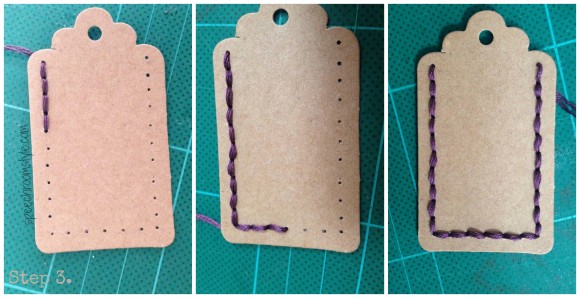
- Thread embroidery thread into the needle and using backstitch, thread through your punched holes all around the edge of your tags. Trim away excess thread.
- If you wish, at this stage you could backstitch over a simple design like a star or tree outline like I have done.
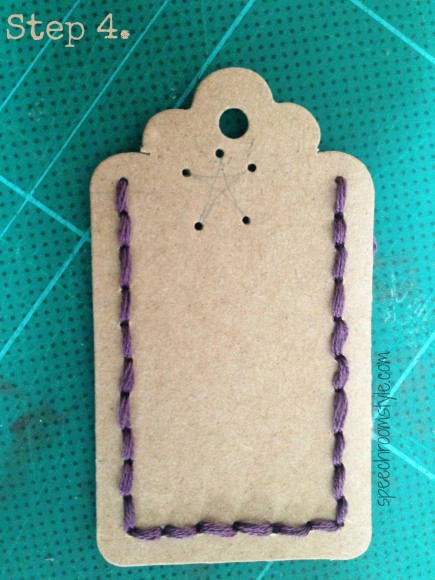
- Once all your stitching has been finished, trim off all the long ends of your thread and put a dot of glue at the back of the first and last stitches to prevent unravelling. Leave to dry.
- Now you will need to add the ribbon to your tag. Cut the ribbon to the desired length, thread through the top of the tag and tie a knot. You can use a sticky pad to fix your tag onto your gift – hiding the unsightly stitching at the back!
And now you have completed your gift tag! 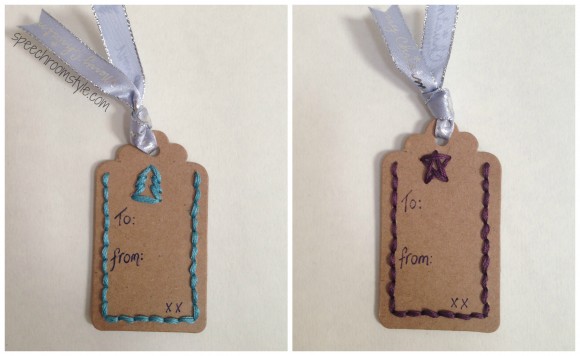 All you need to do now is wrap your gift and then write and attach your handmade tag – doesn’t it just make the gift look more thoughtful to see a handmade tag?
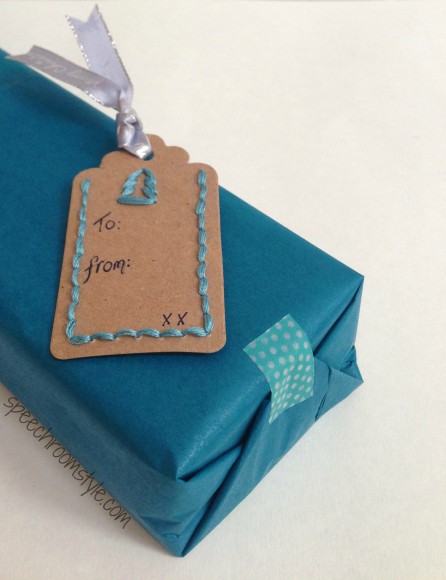 I hope you will have a go at making your own gift tags – let me know what designs you will be using!


Leave a Comment