
Today we continue with our Christmas craft theme – and we bring you these super-easy Foil Decorations.

They are really easy to make and most of the materials required are already in your home! Lets get started!
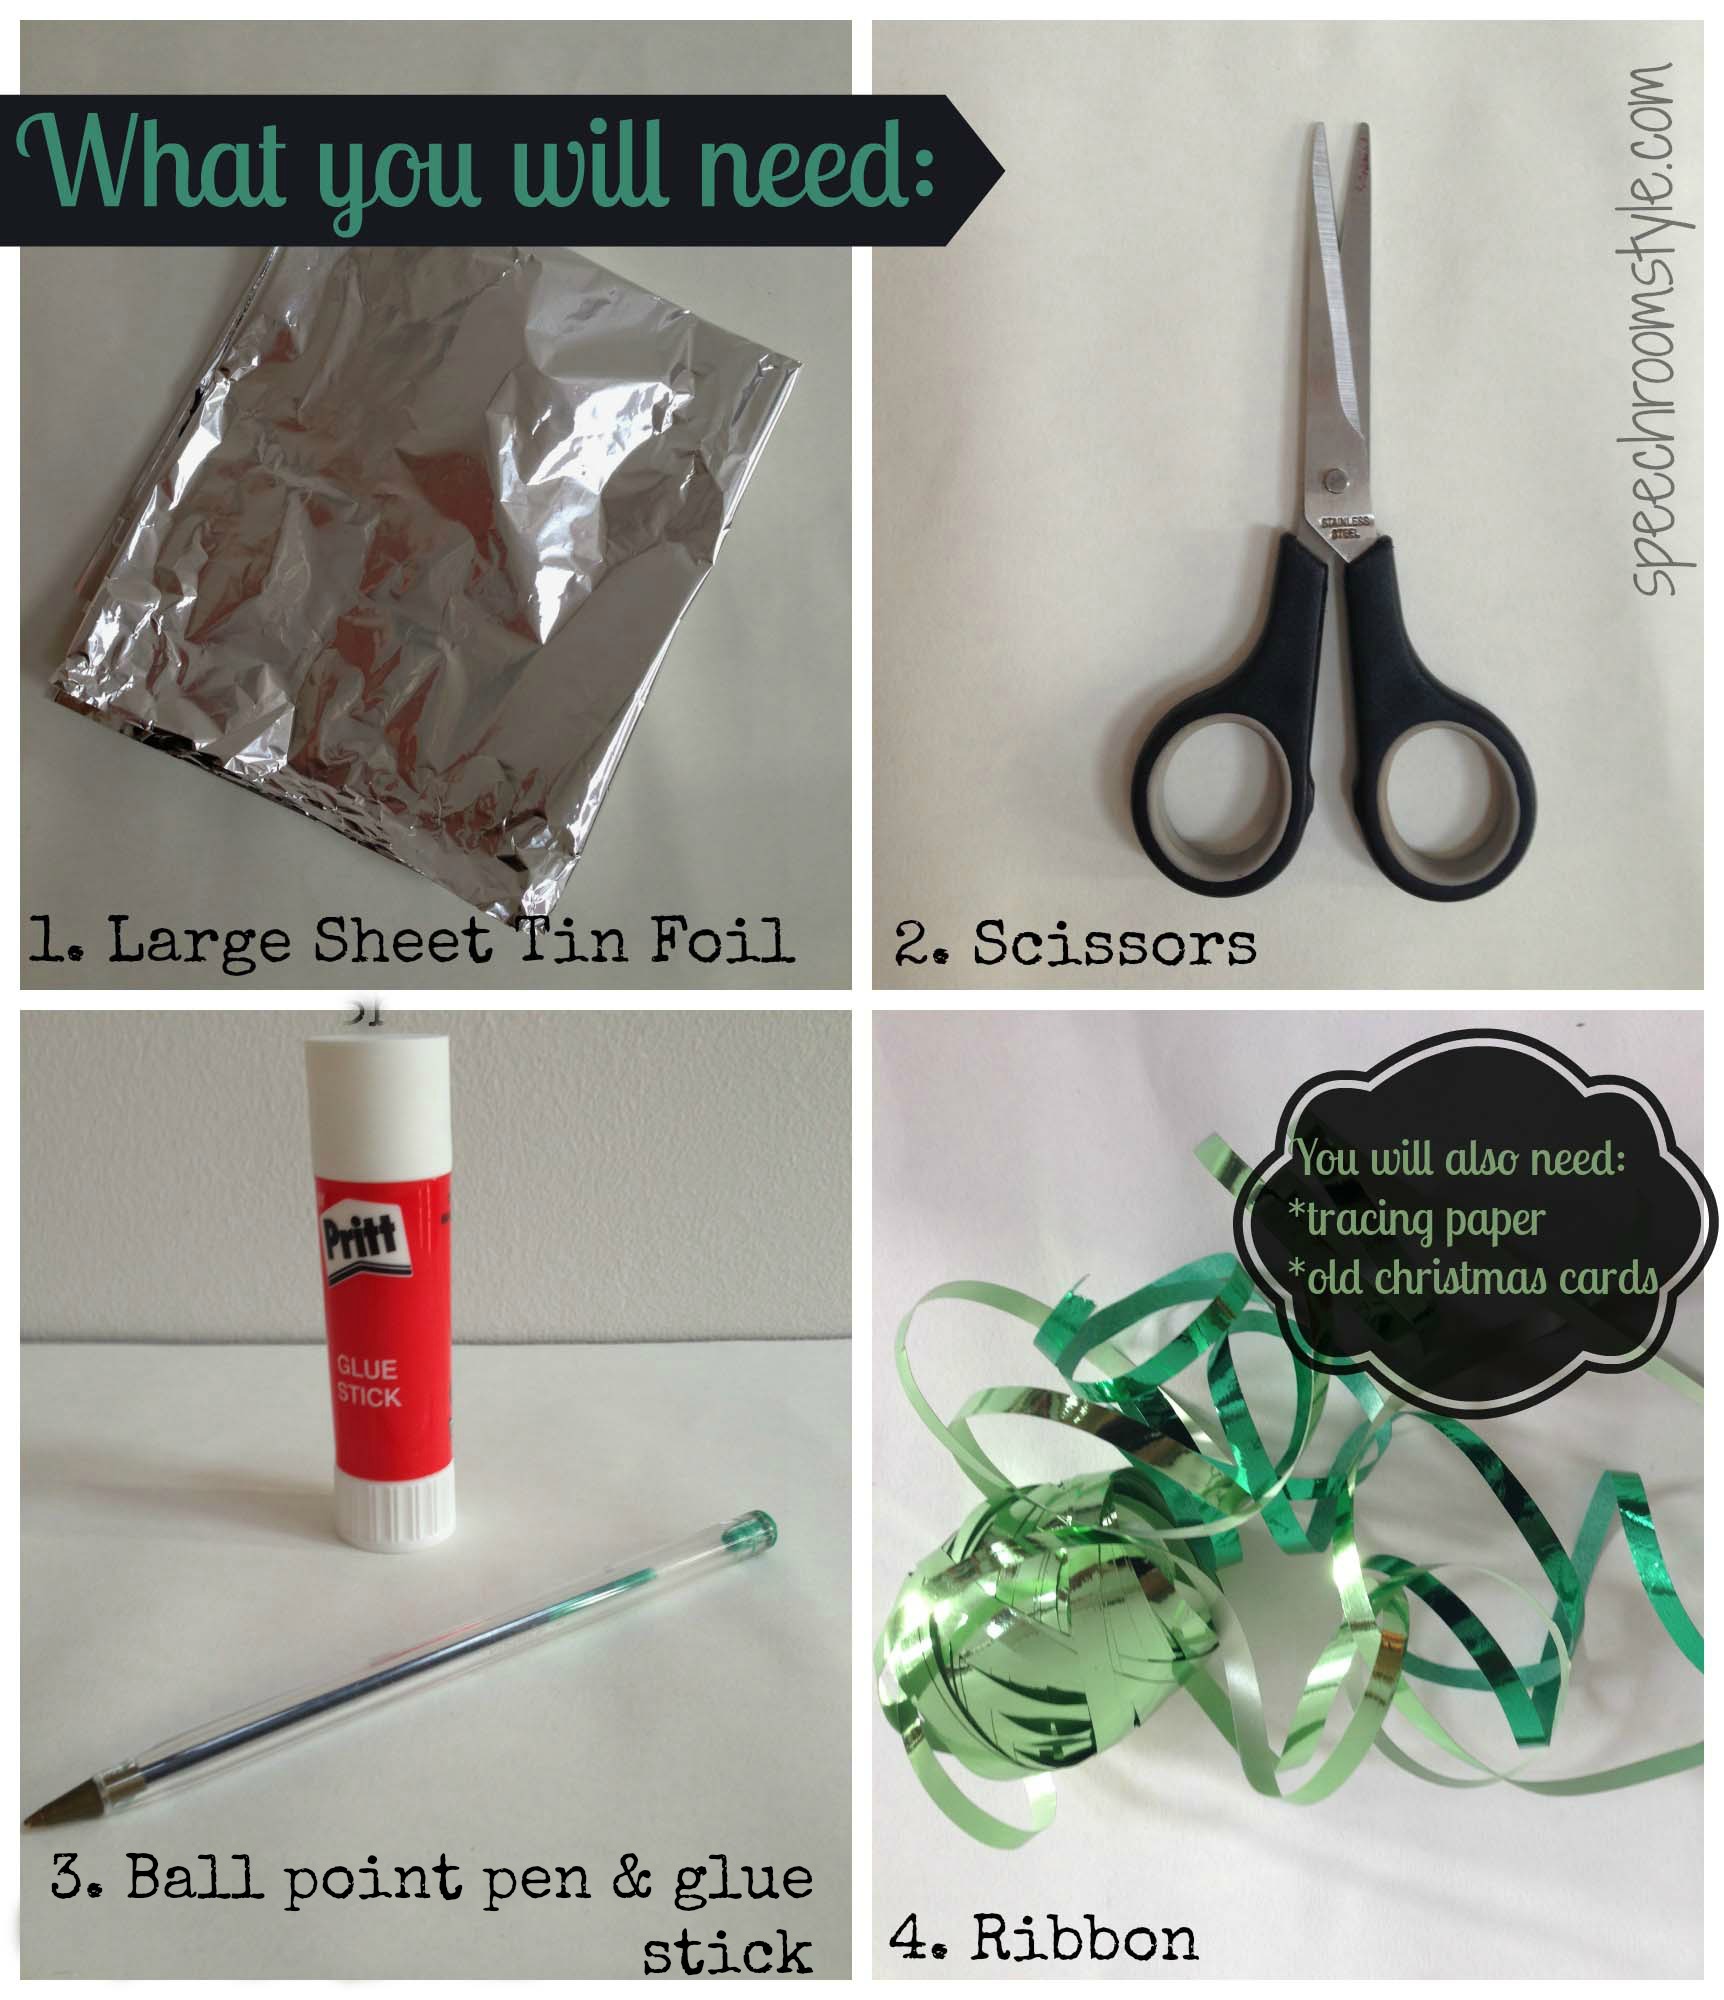
Here’s a list of what you will need:
 This is how I made these ones:
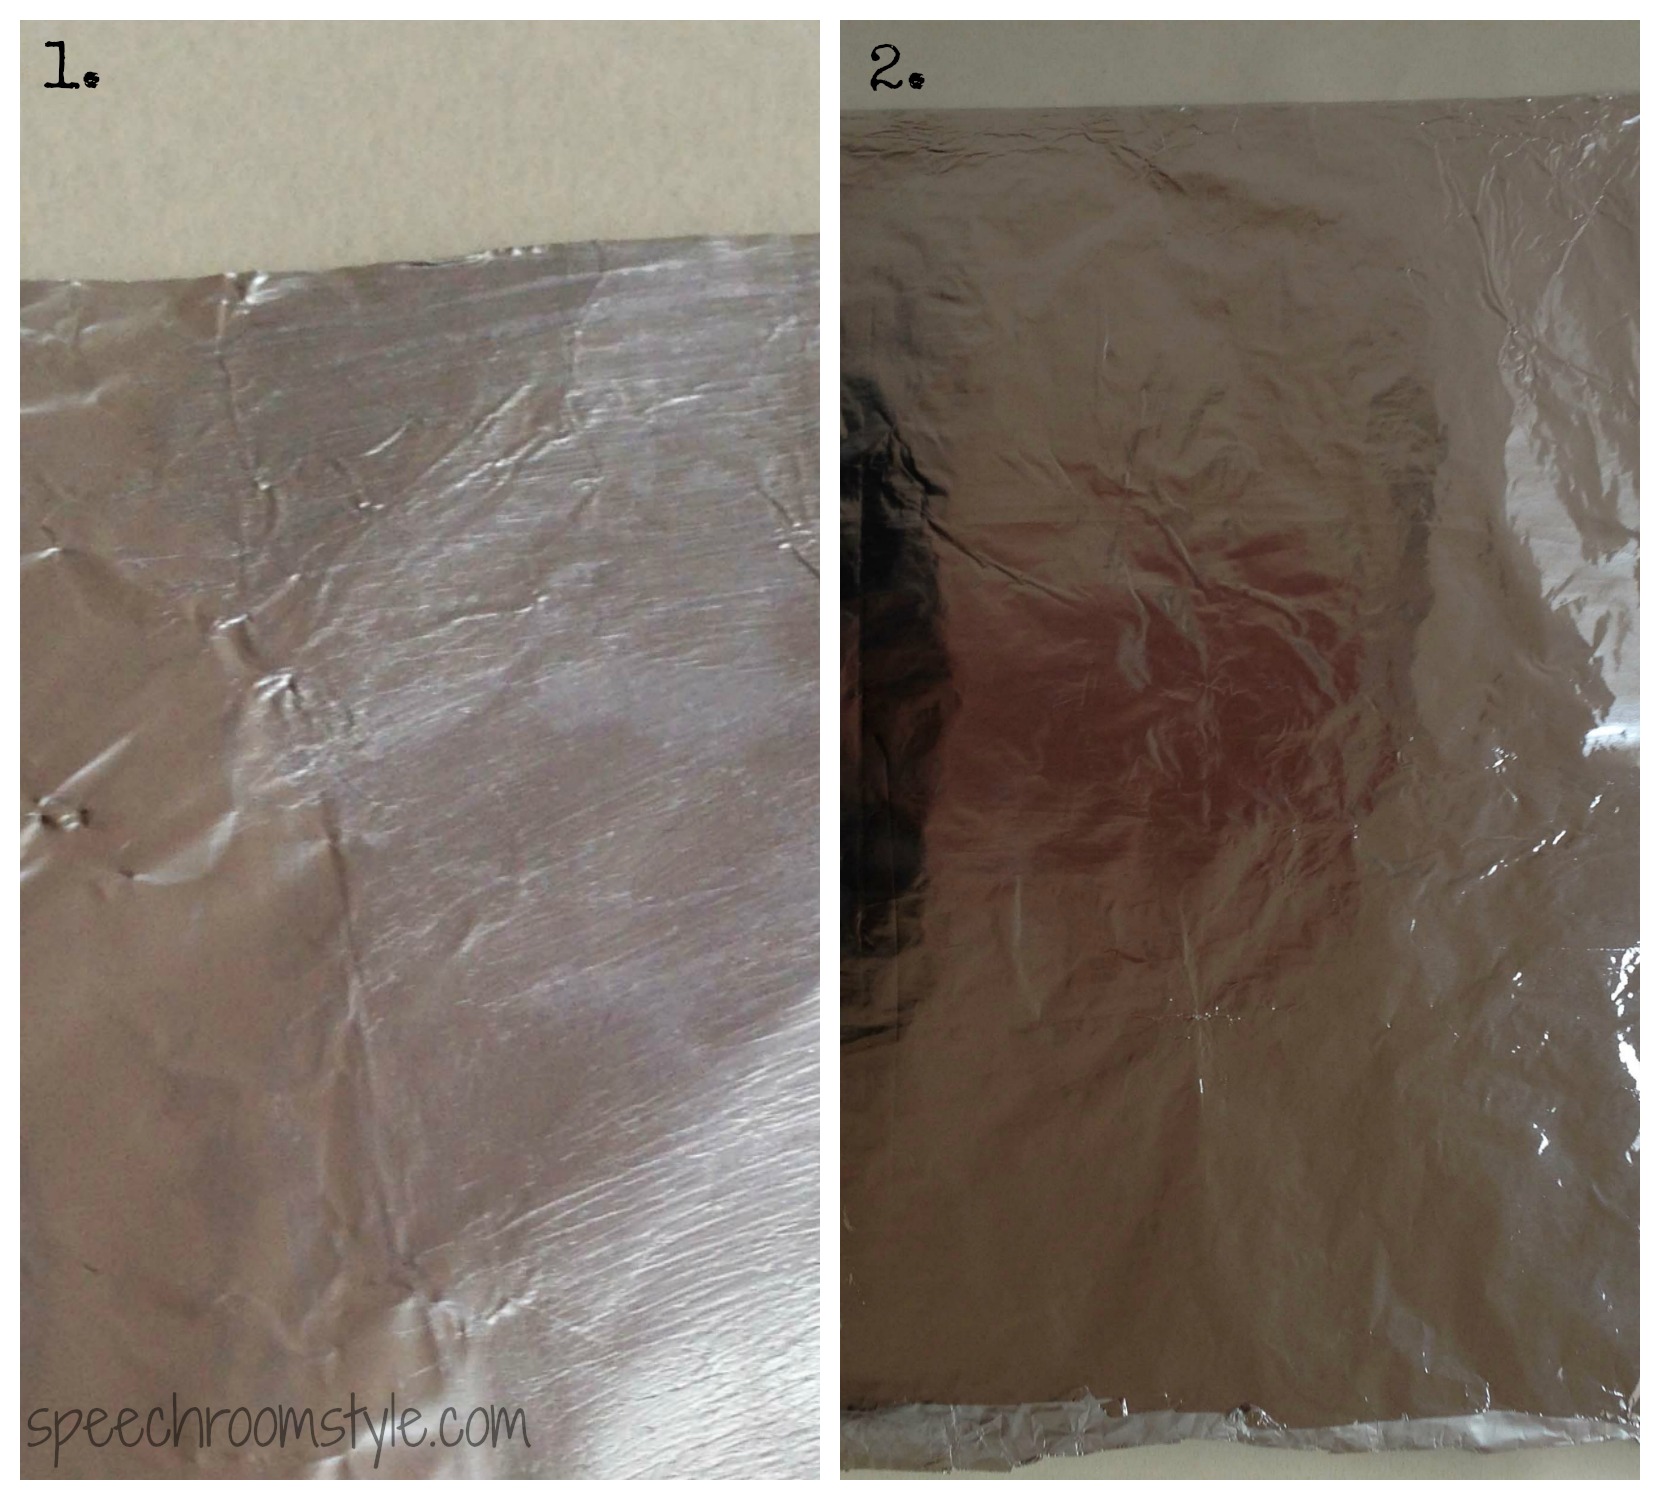
- Using the glue stick, spread glue all over the non-shiny side of the foil.
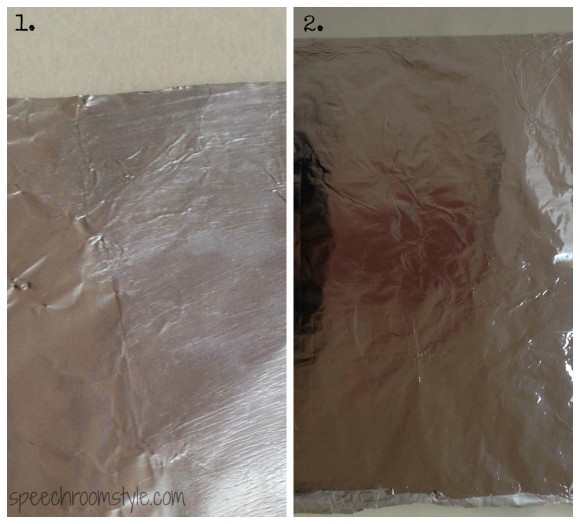
- Fold foil in half – glue sides together- with the shiny side facing out. Then smooth out the surface with your hand. The smoother the surface, the more your designs will stand out!
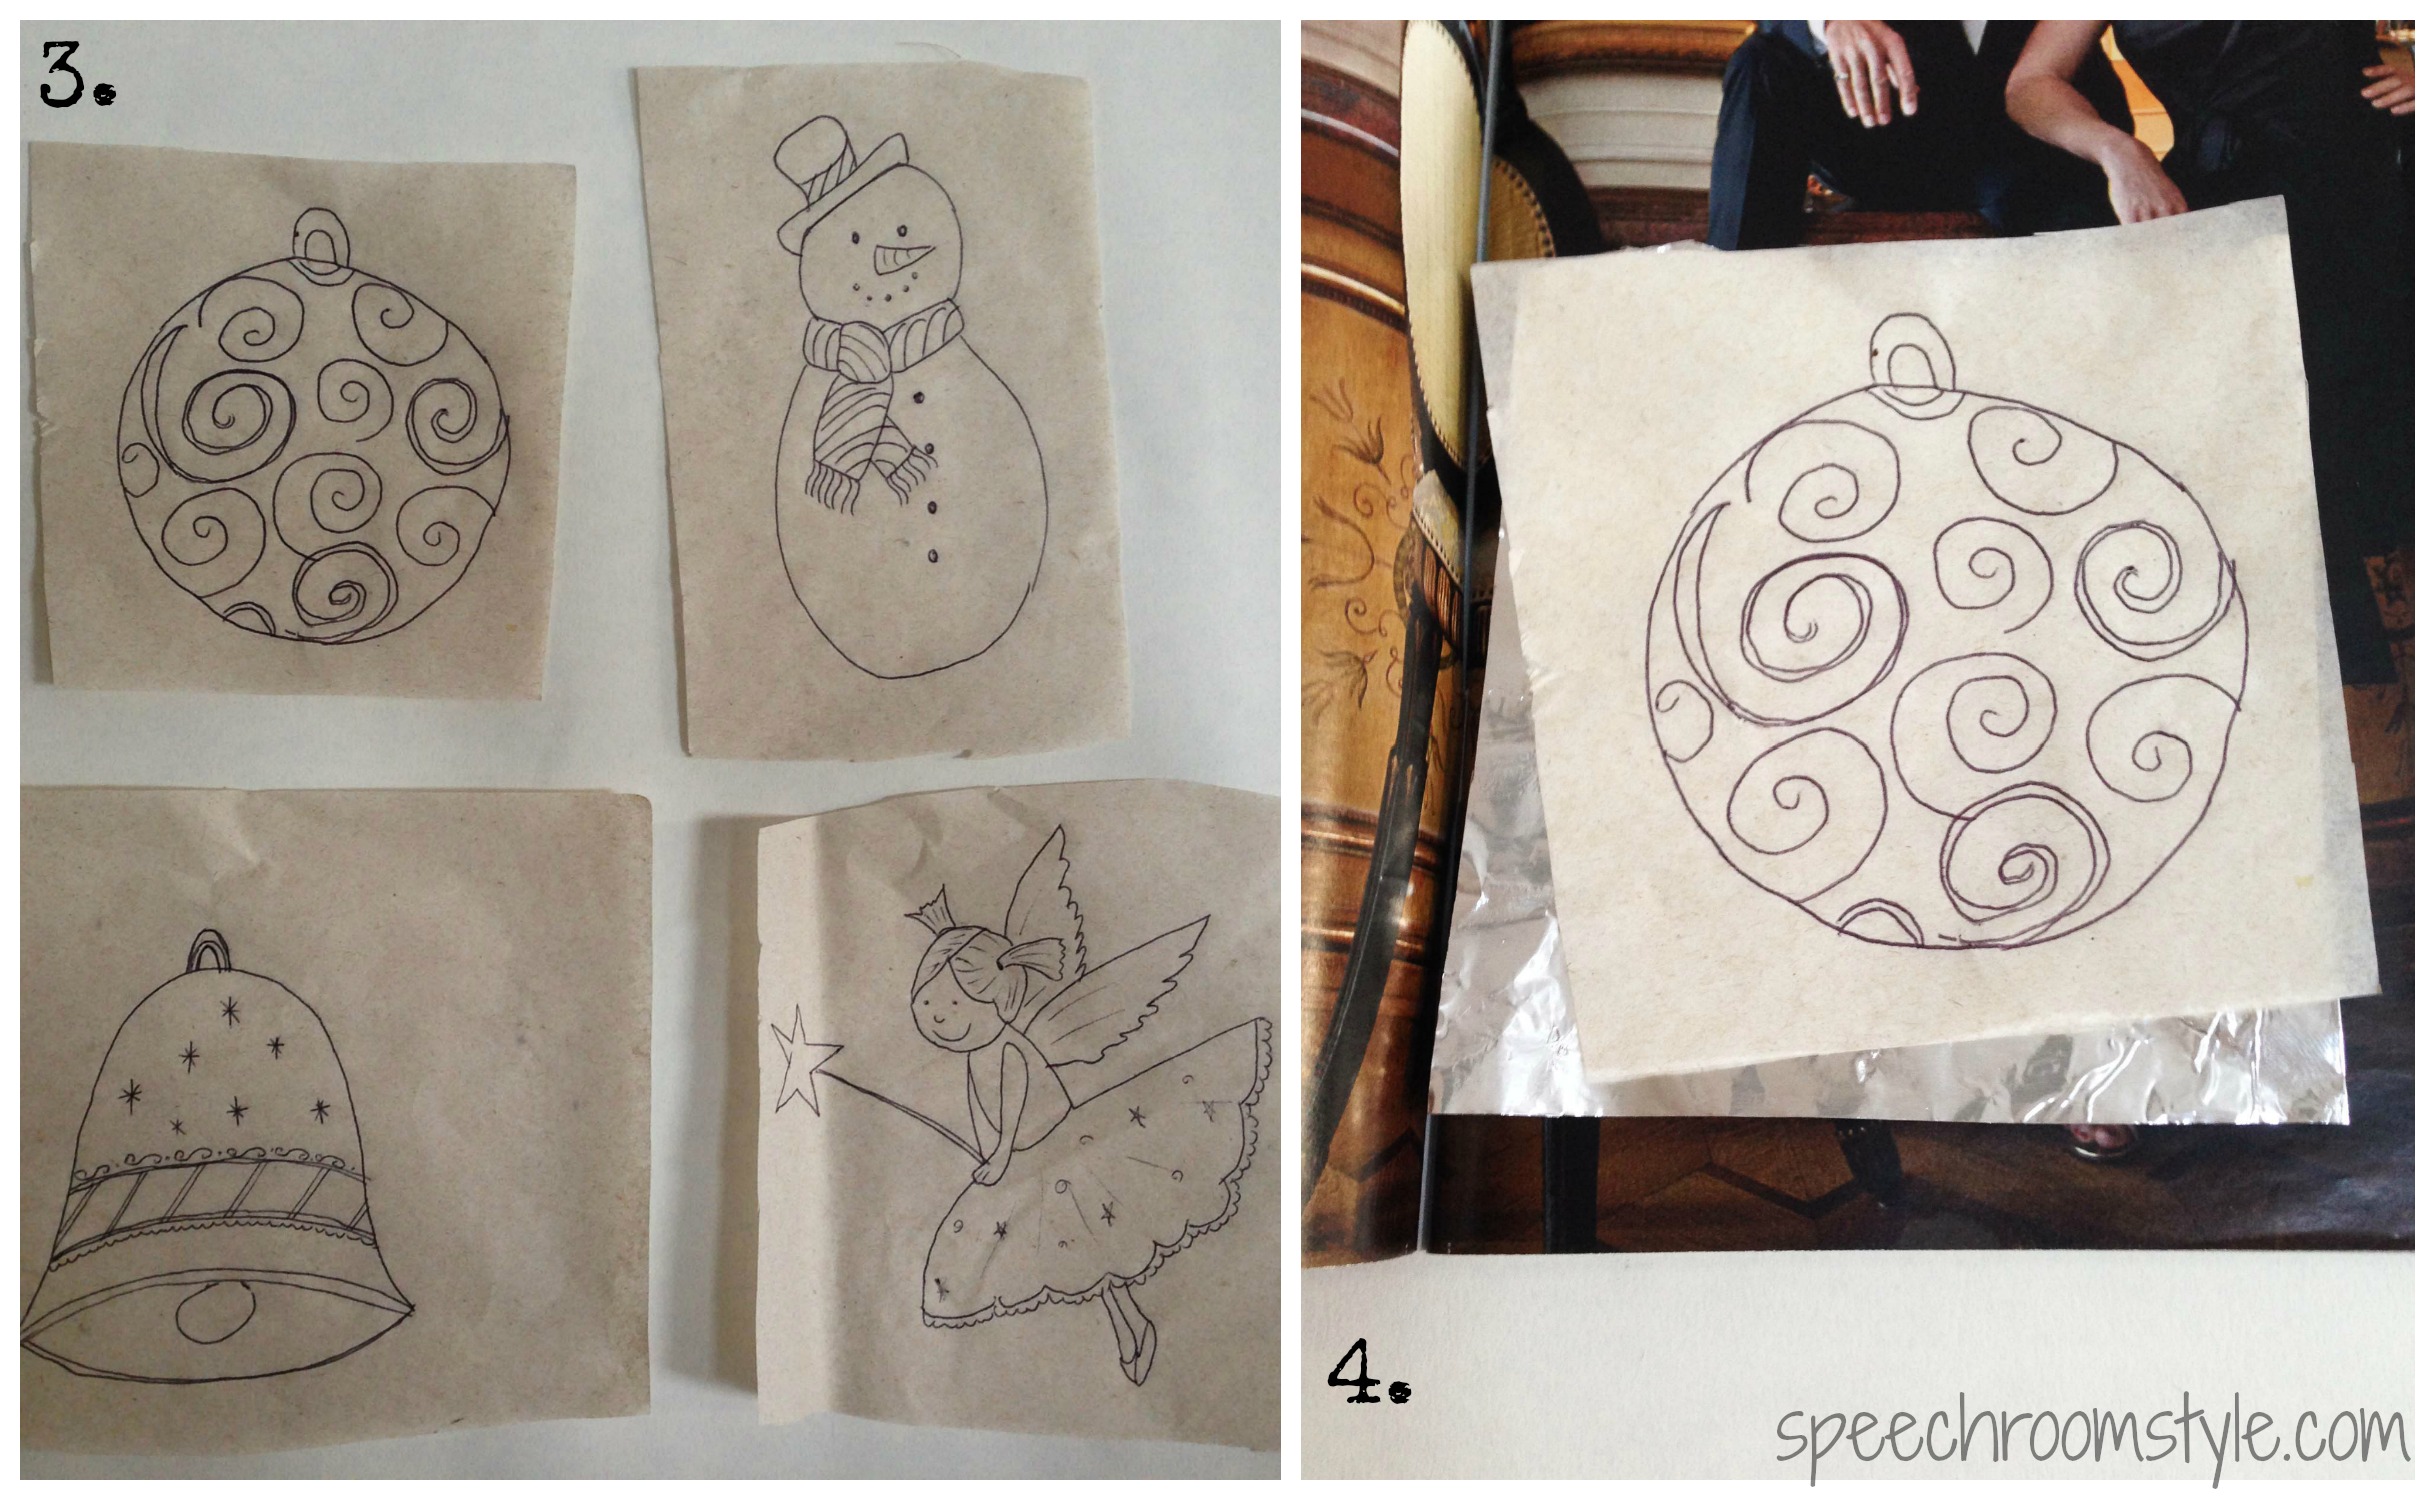
- Now you need to find some Christmas designs that you like from old Christmas cards and trace over them with your tracing paper. I used a fairy, a bell, a tree ornament and a snowman for ours!
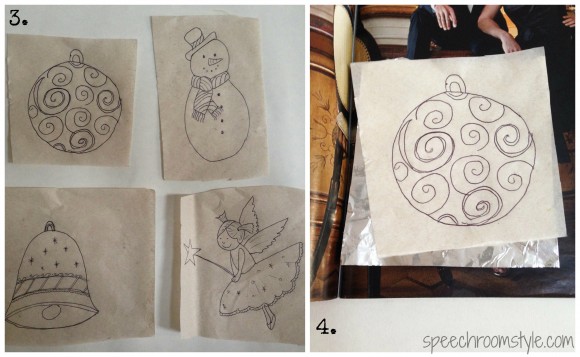
- Next you will need to divide your large sheet of foil into smaller squares that your individual designs will fit onto. Place your glued foil sandwich onto a magazine, lay your traced design over it and start tracing with your pen (students may need your help to hold things steady – to keep the design in place!). Lean heavy enough to make your design stand out, but not so heavy as to punch a hole in your foil.
- At this stage you are ready to cut around your design (students use safety scissors).
- Repeat steps 4 & 5 for your other designs.
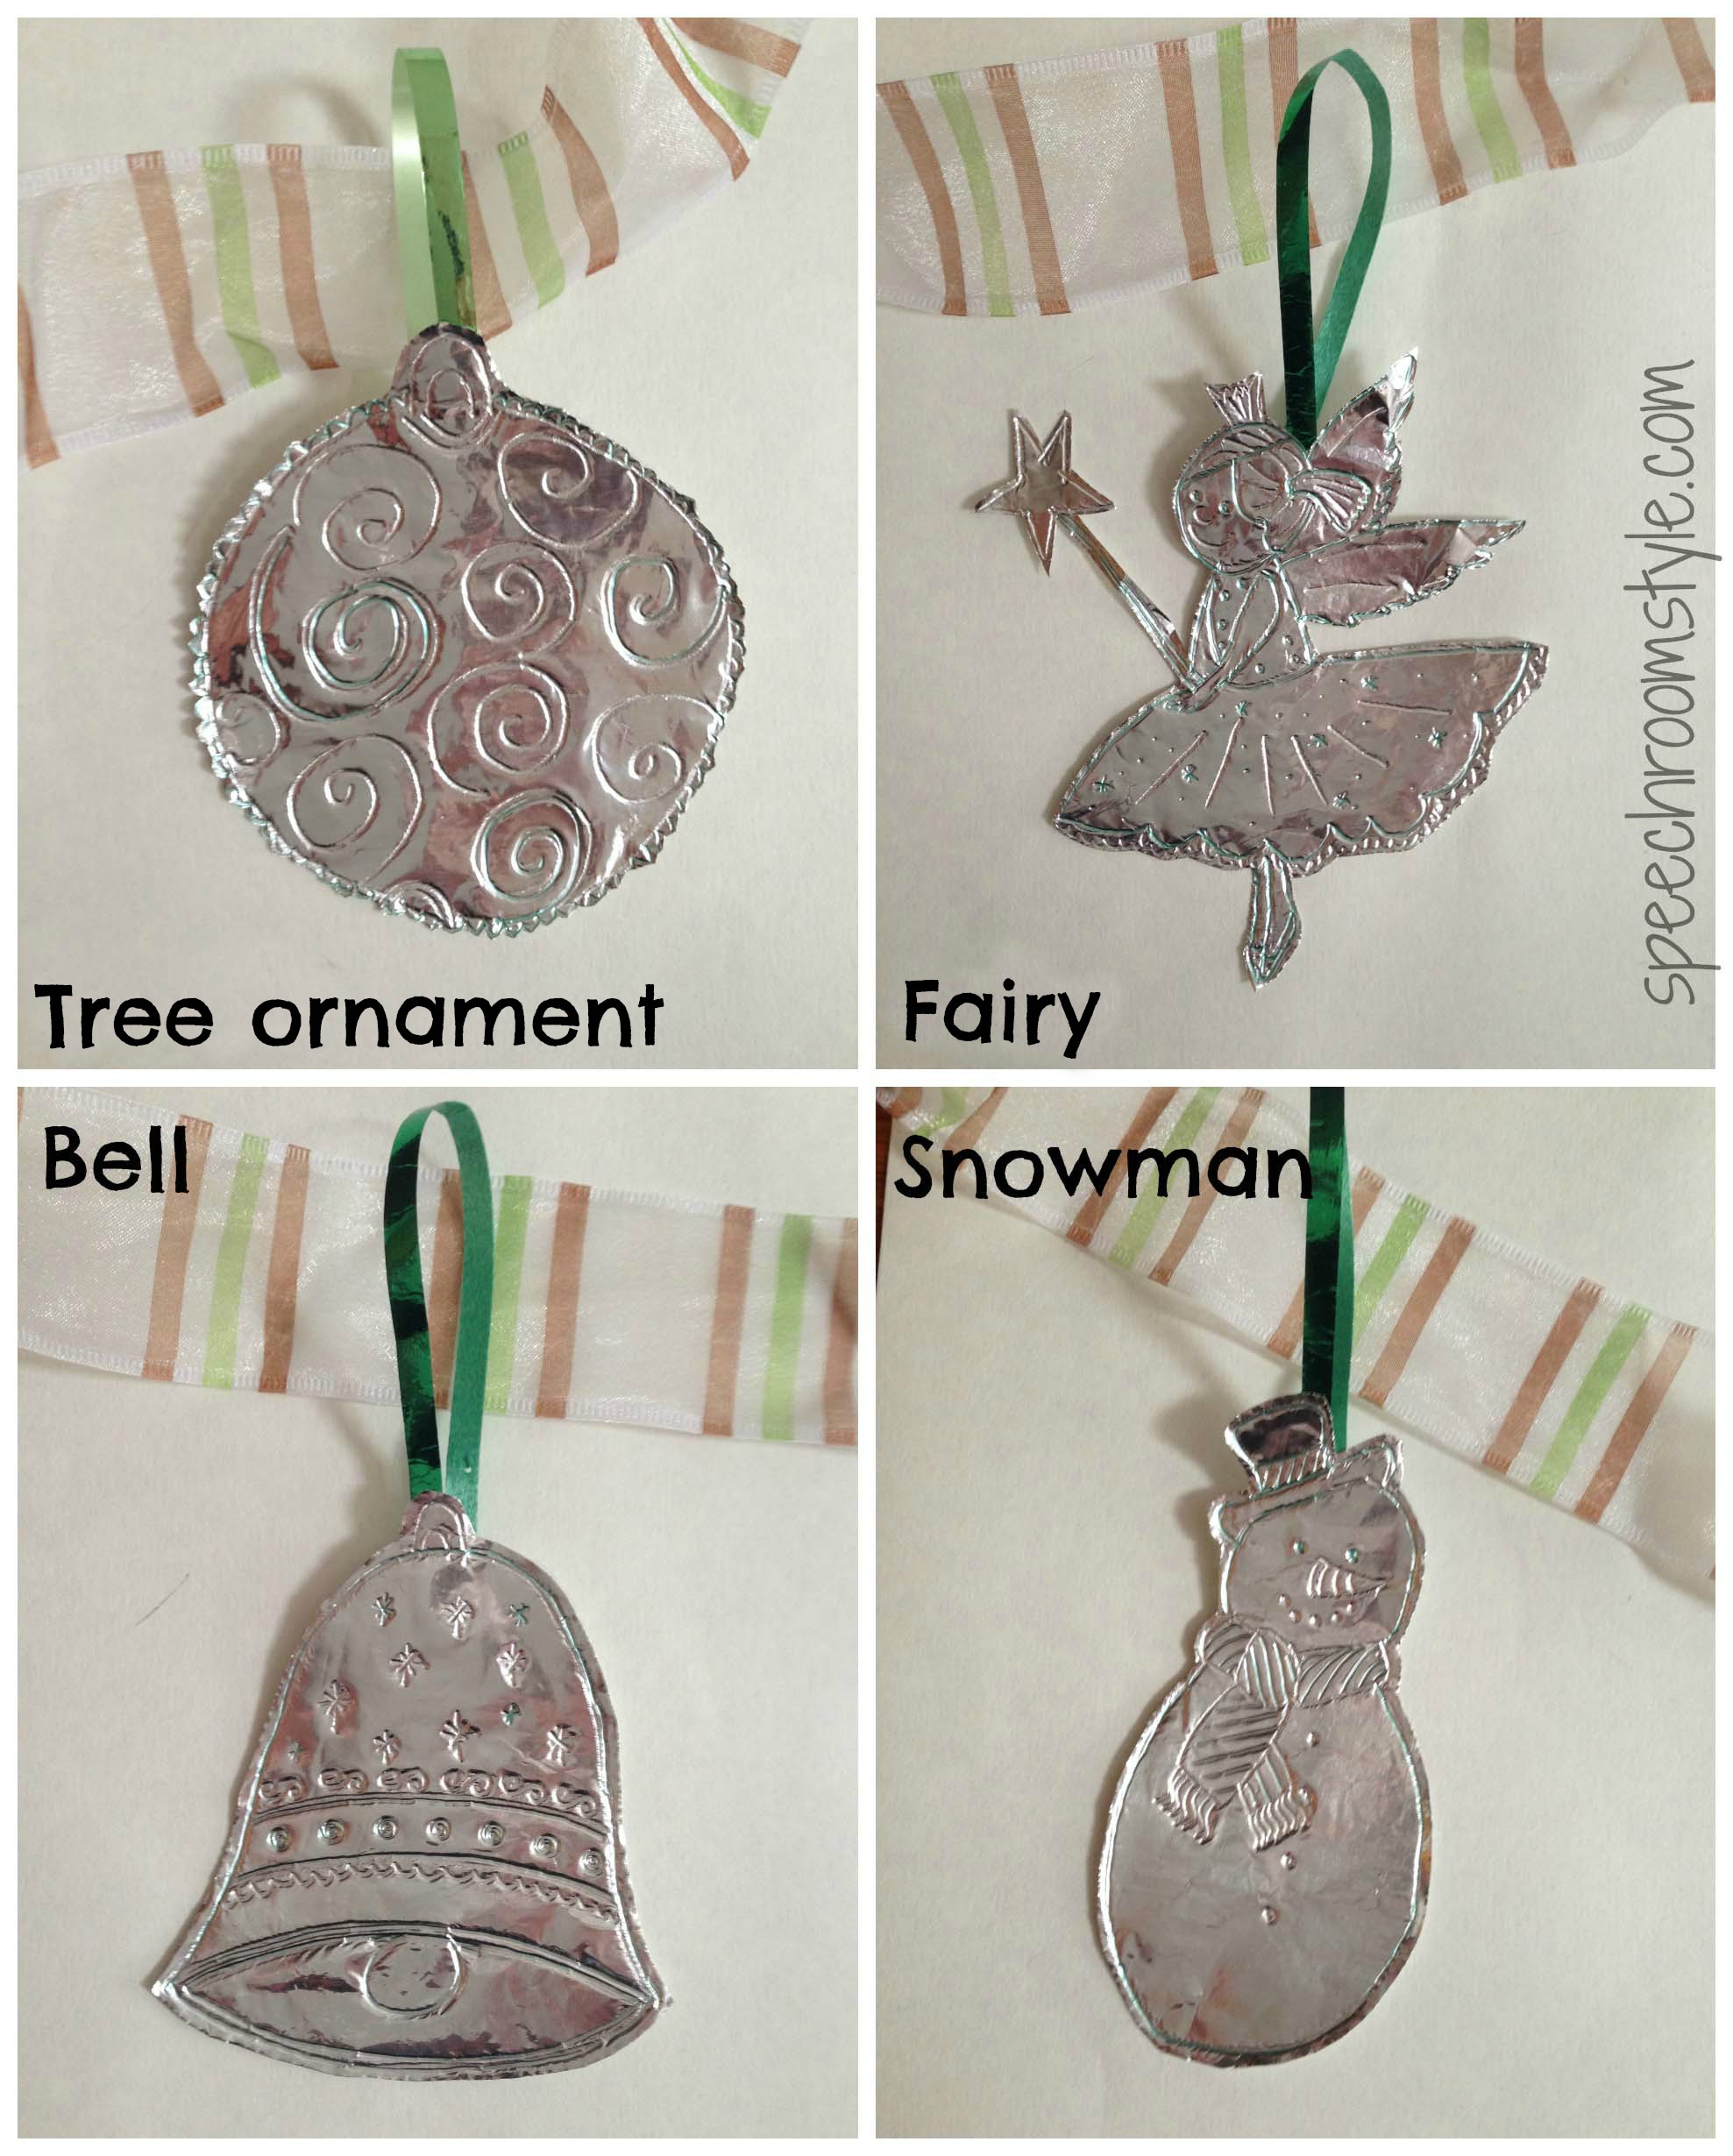
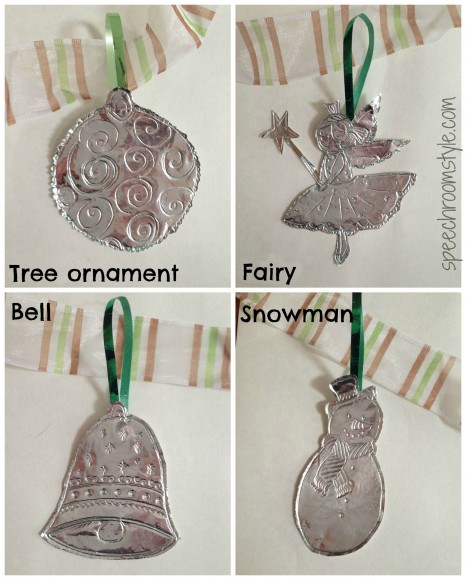 Attach ribbon loops onto your foil designs – you can glue or punch a hole and thread through the ribbon – I just stuck mine on! Hey presto! Your foil decorations are now ready to hang! Why not give it a try? I’m sure that you already have most of the items needed in your cupboards! I Hope you enjoy making them as much as I did – there is something very therapeutic about tracing on foil! Remember we will be posting more Christmas Crafty Ideas in the coming days!


Leave a Comment