
So now that Thanksgiving’s over, we can start to look towards Christmas! We are going to run a little series of Christmas themed crafts for you from now till the big day….starting with an advent calendar (That’s where the countdown begins!)
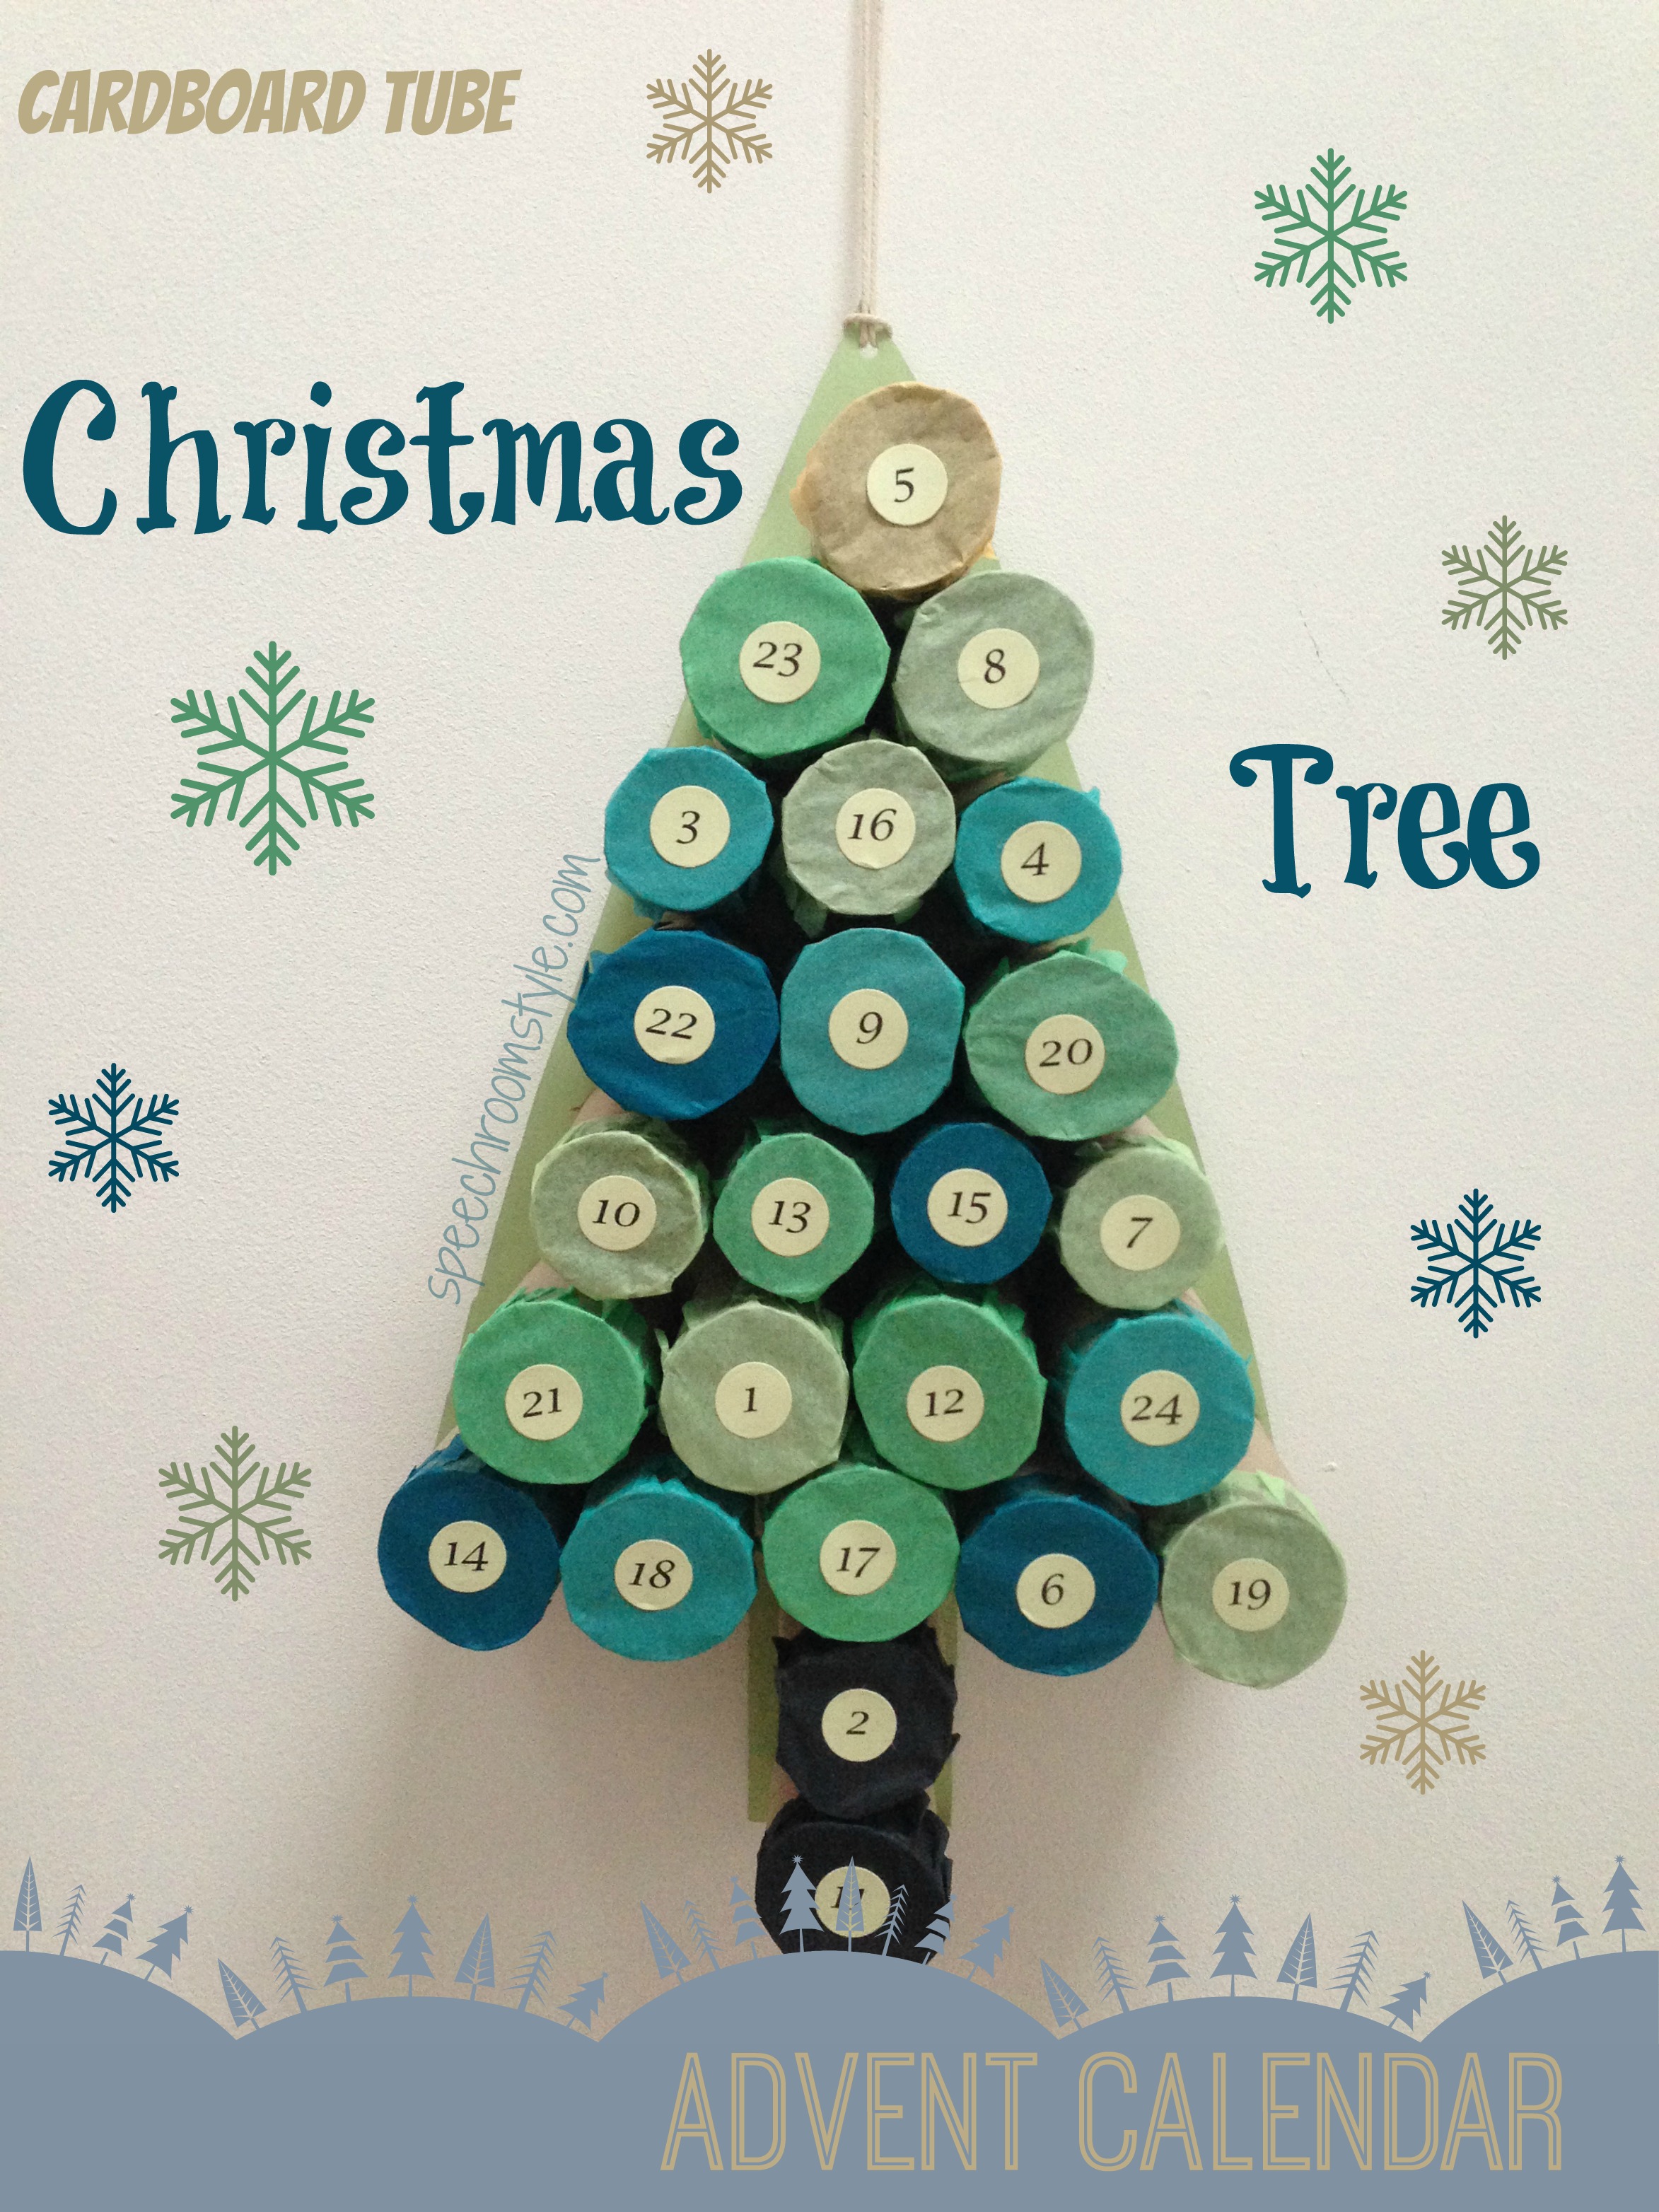
When you have quite a few students, keeping track of their Advent Calendars can be challenging! That’s why I love this idea – you can put as many treats in there as you have students and get rid of some of the hassle! I just love making use of the card tubes too…
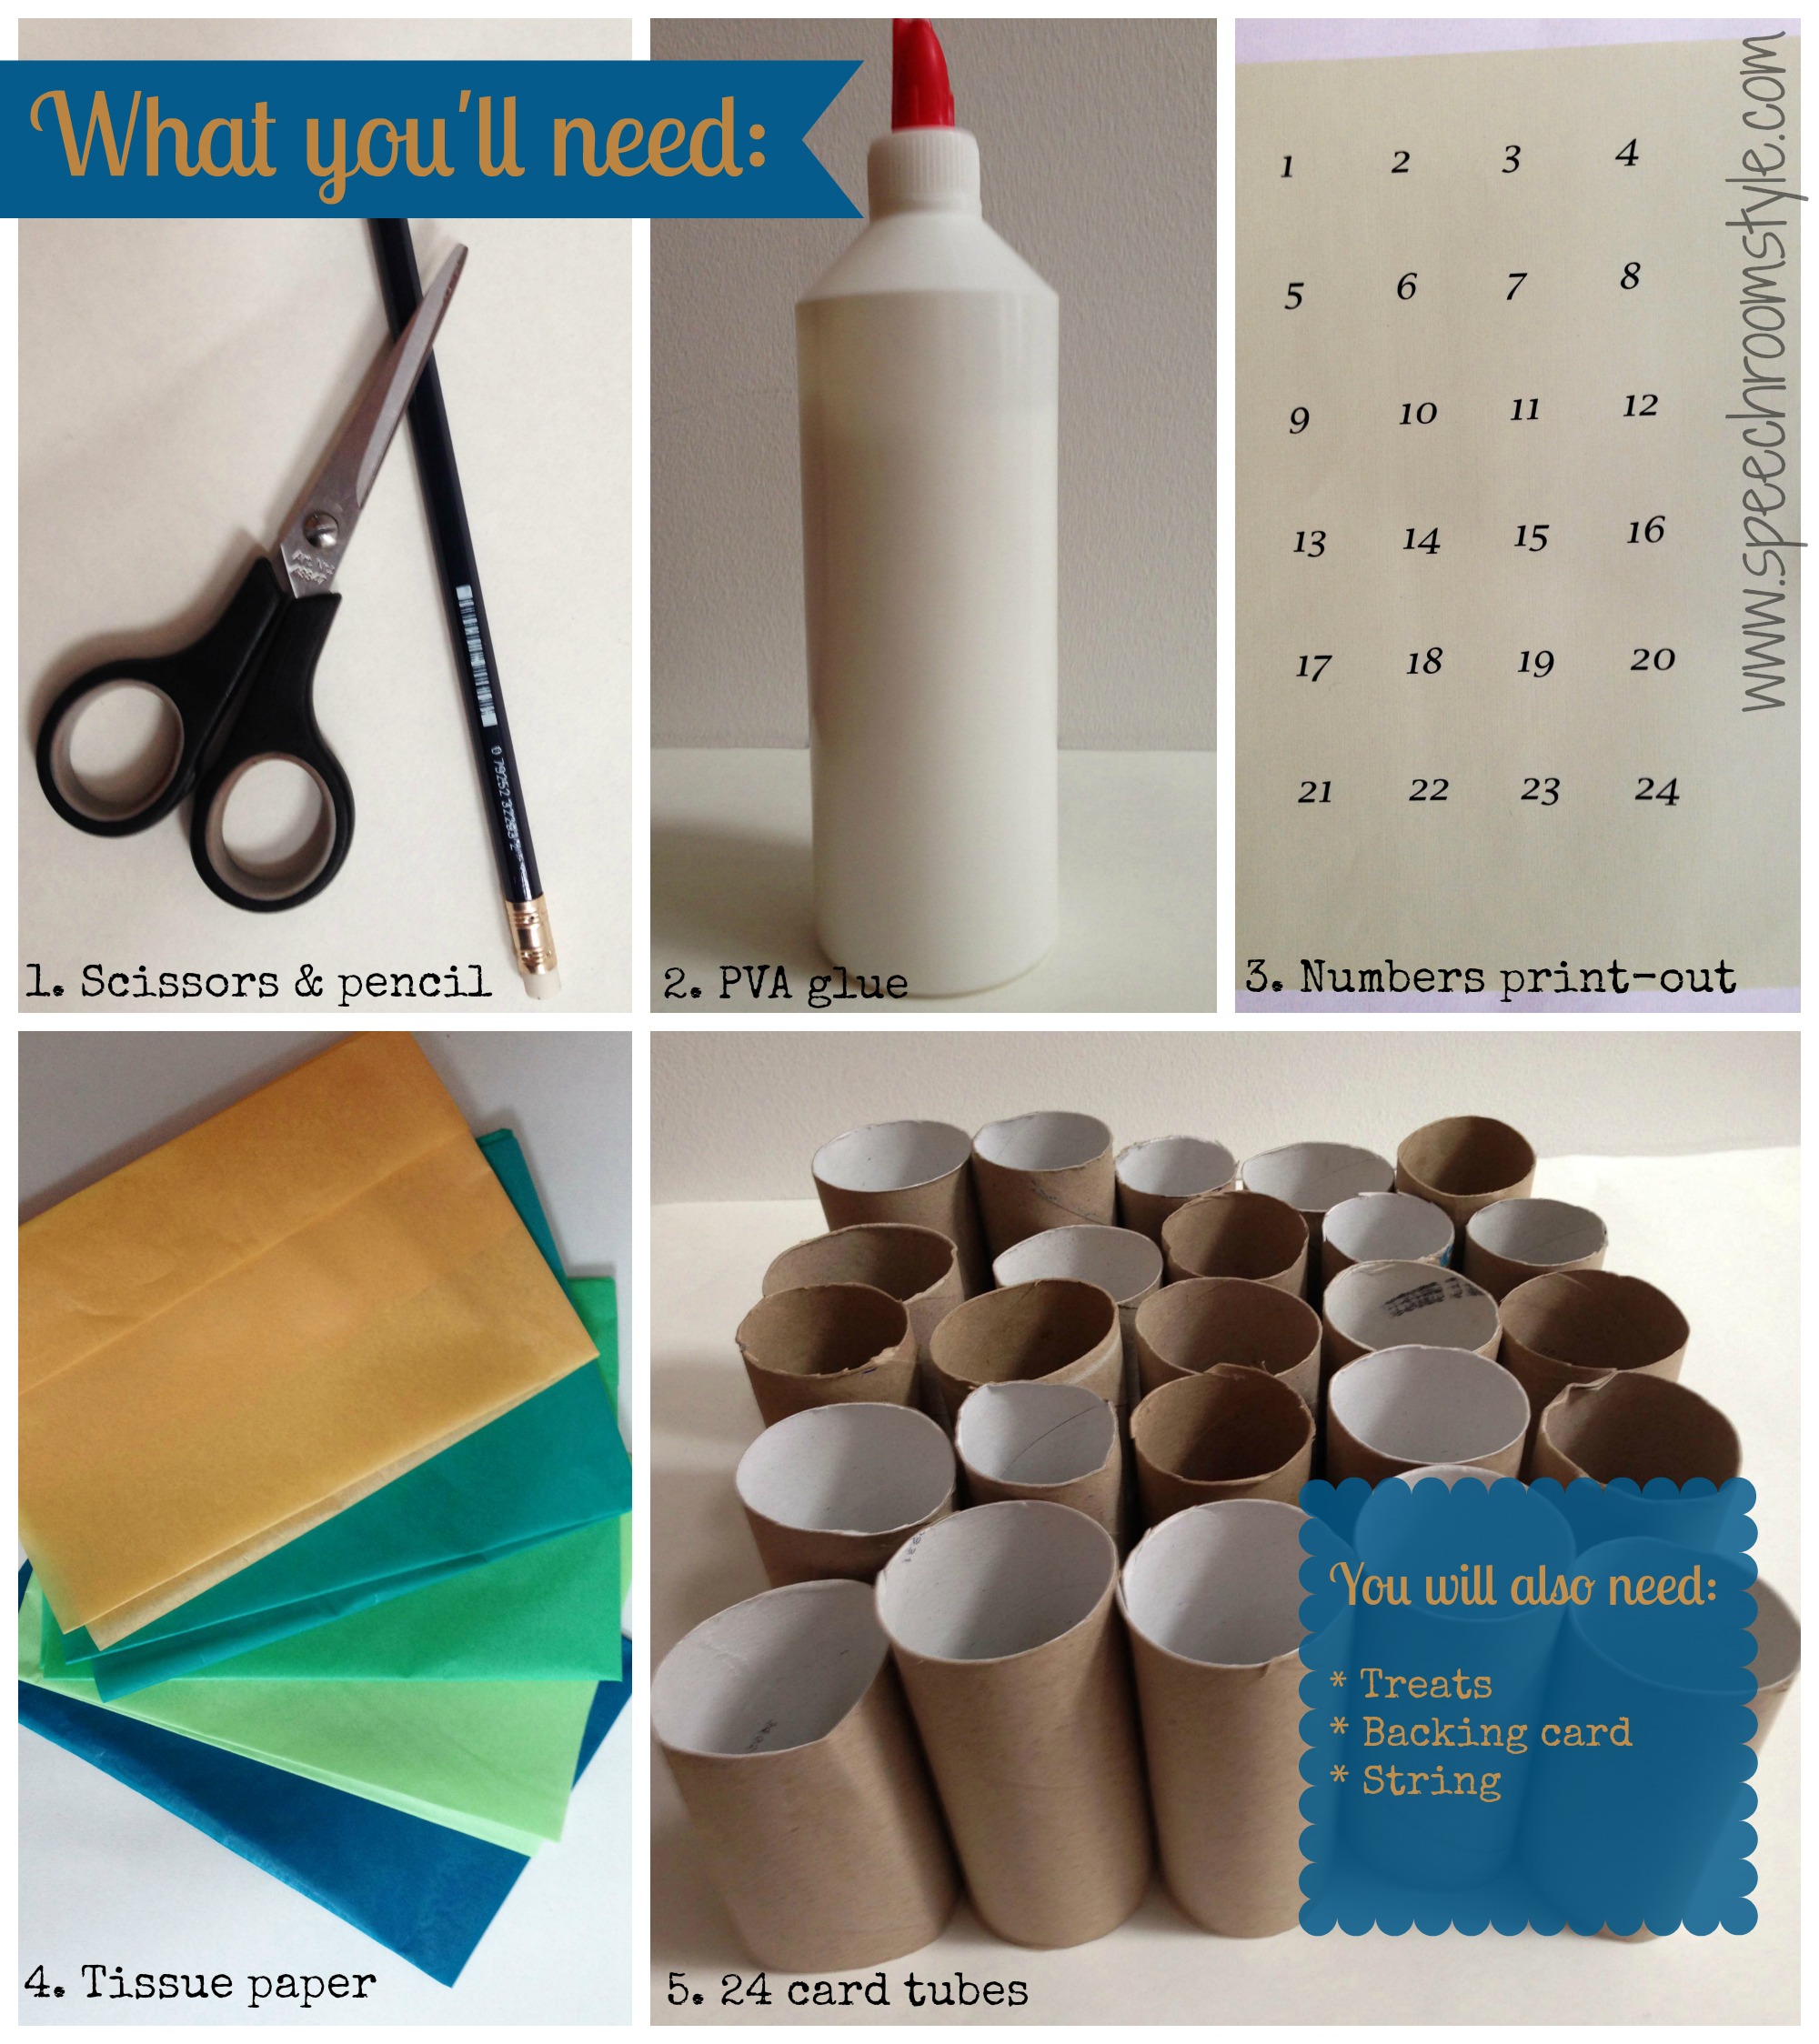
So here’s what you will need:
And this is how I made mine:
- To start, I trimmed all the tubes to approximately the same height – I made mine about 4″ each.
- Then cut 24 circles out of your tissue paper – as you can see I used different shades of blue/green, but you can get as creative as you like! I cut the tissue circles bigger than top of tubes – about 1″ all round to allow me to stick along edge.
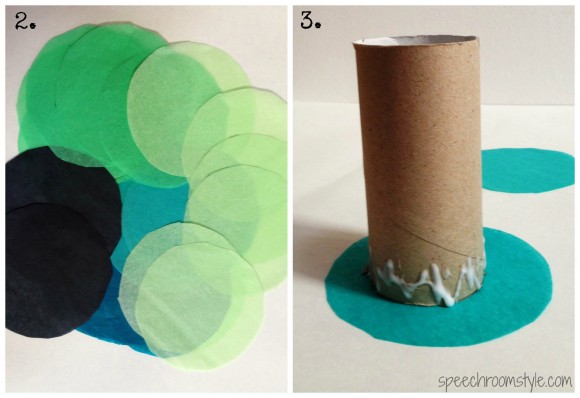 Glue the tissue paper to the top of your tubes – I just put glue around the upper edge and then folded the paper over to stick.
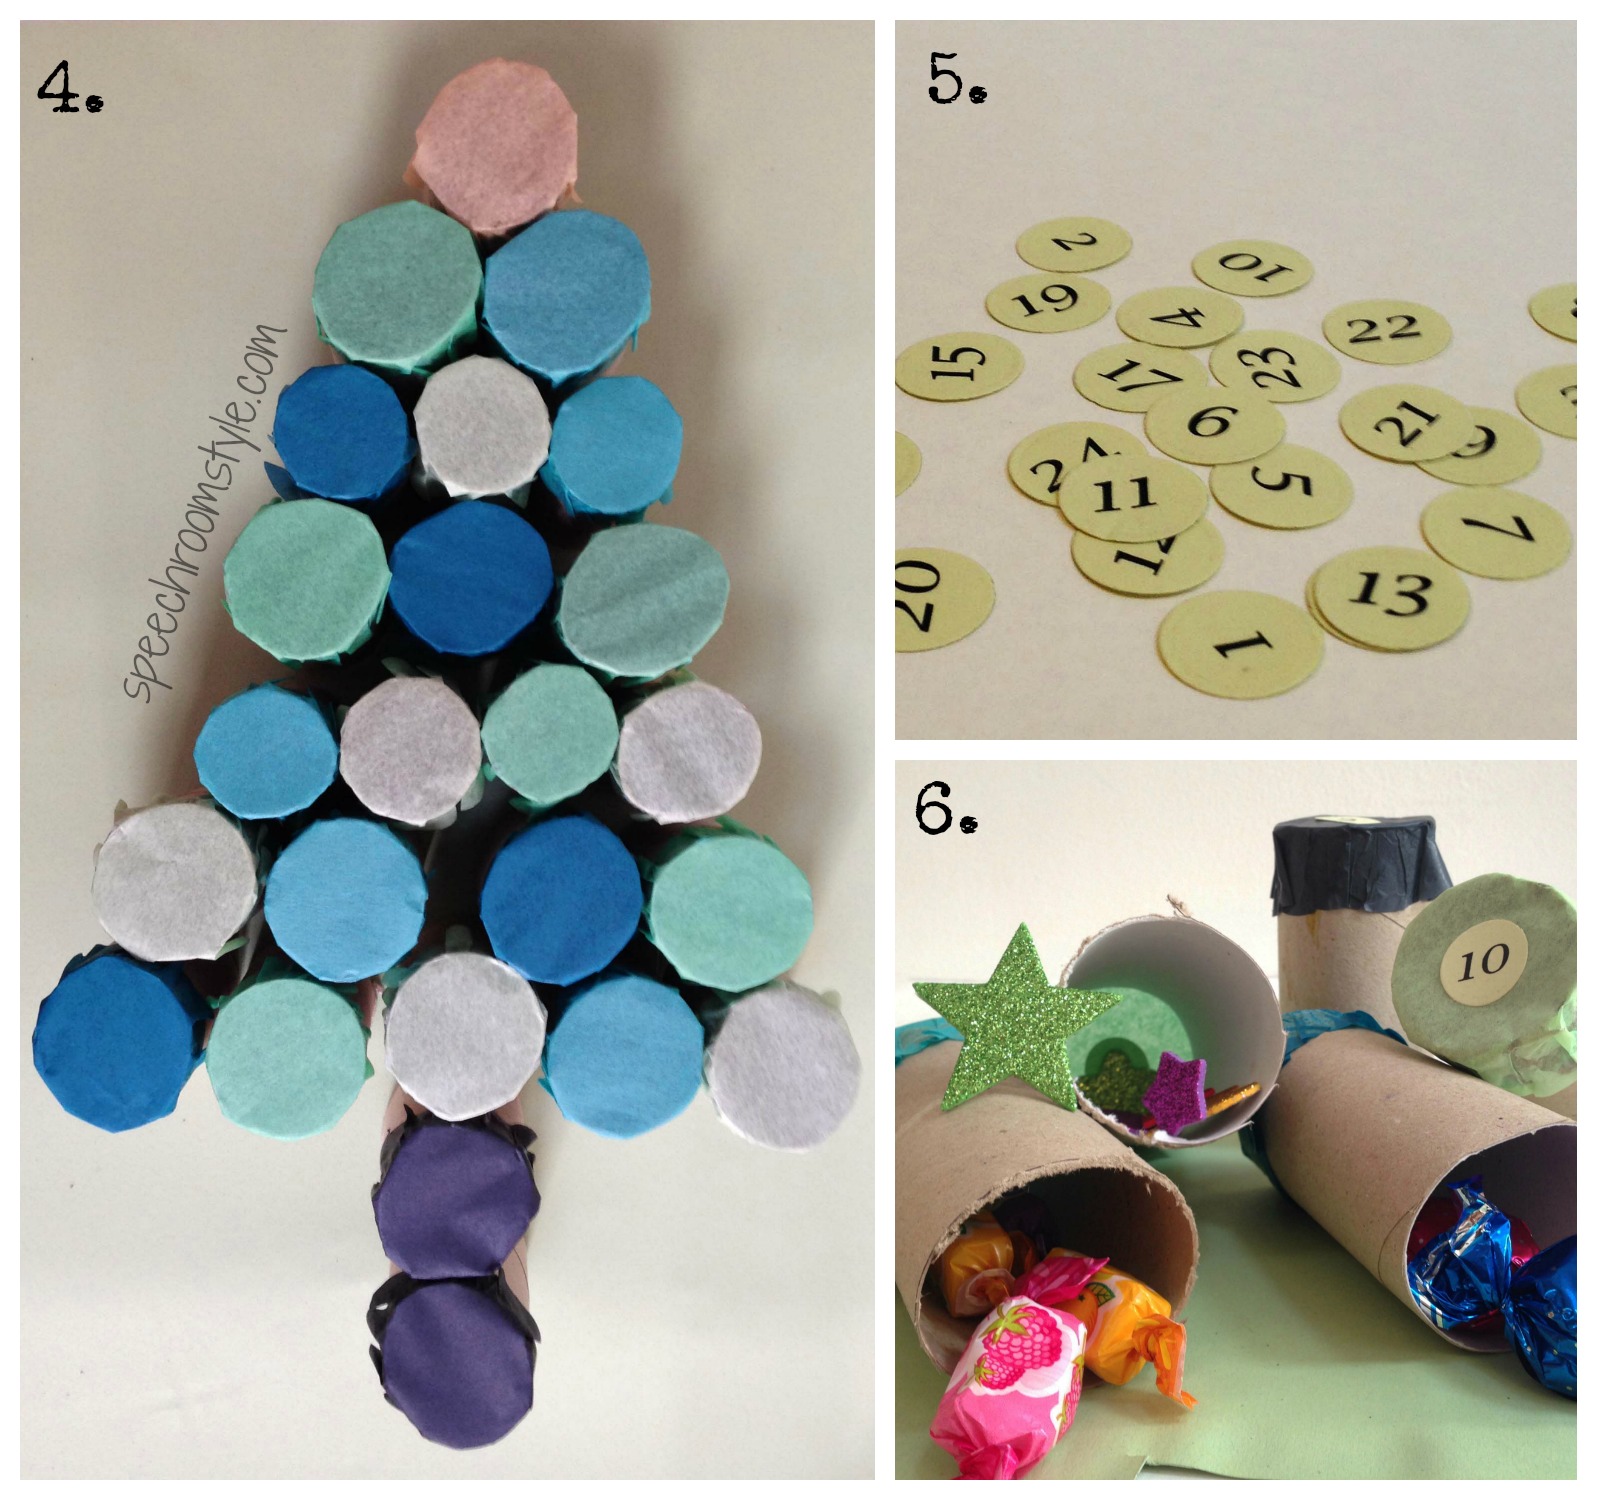
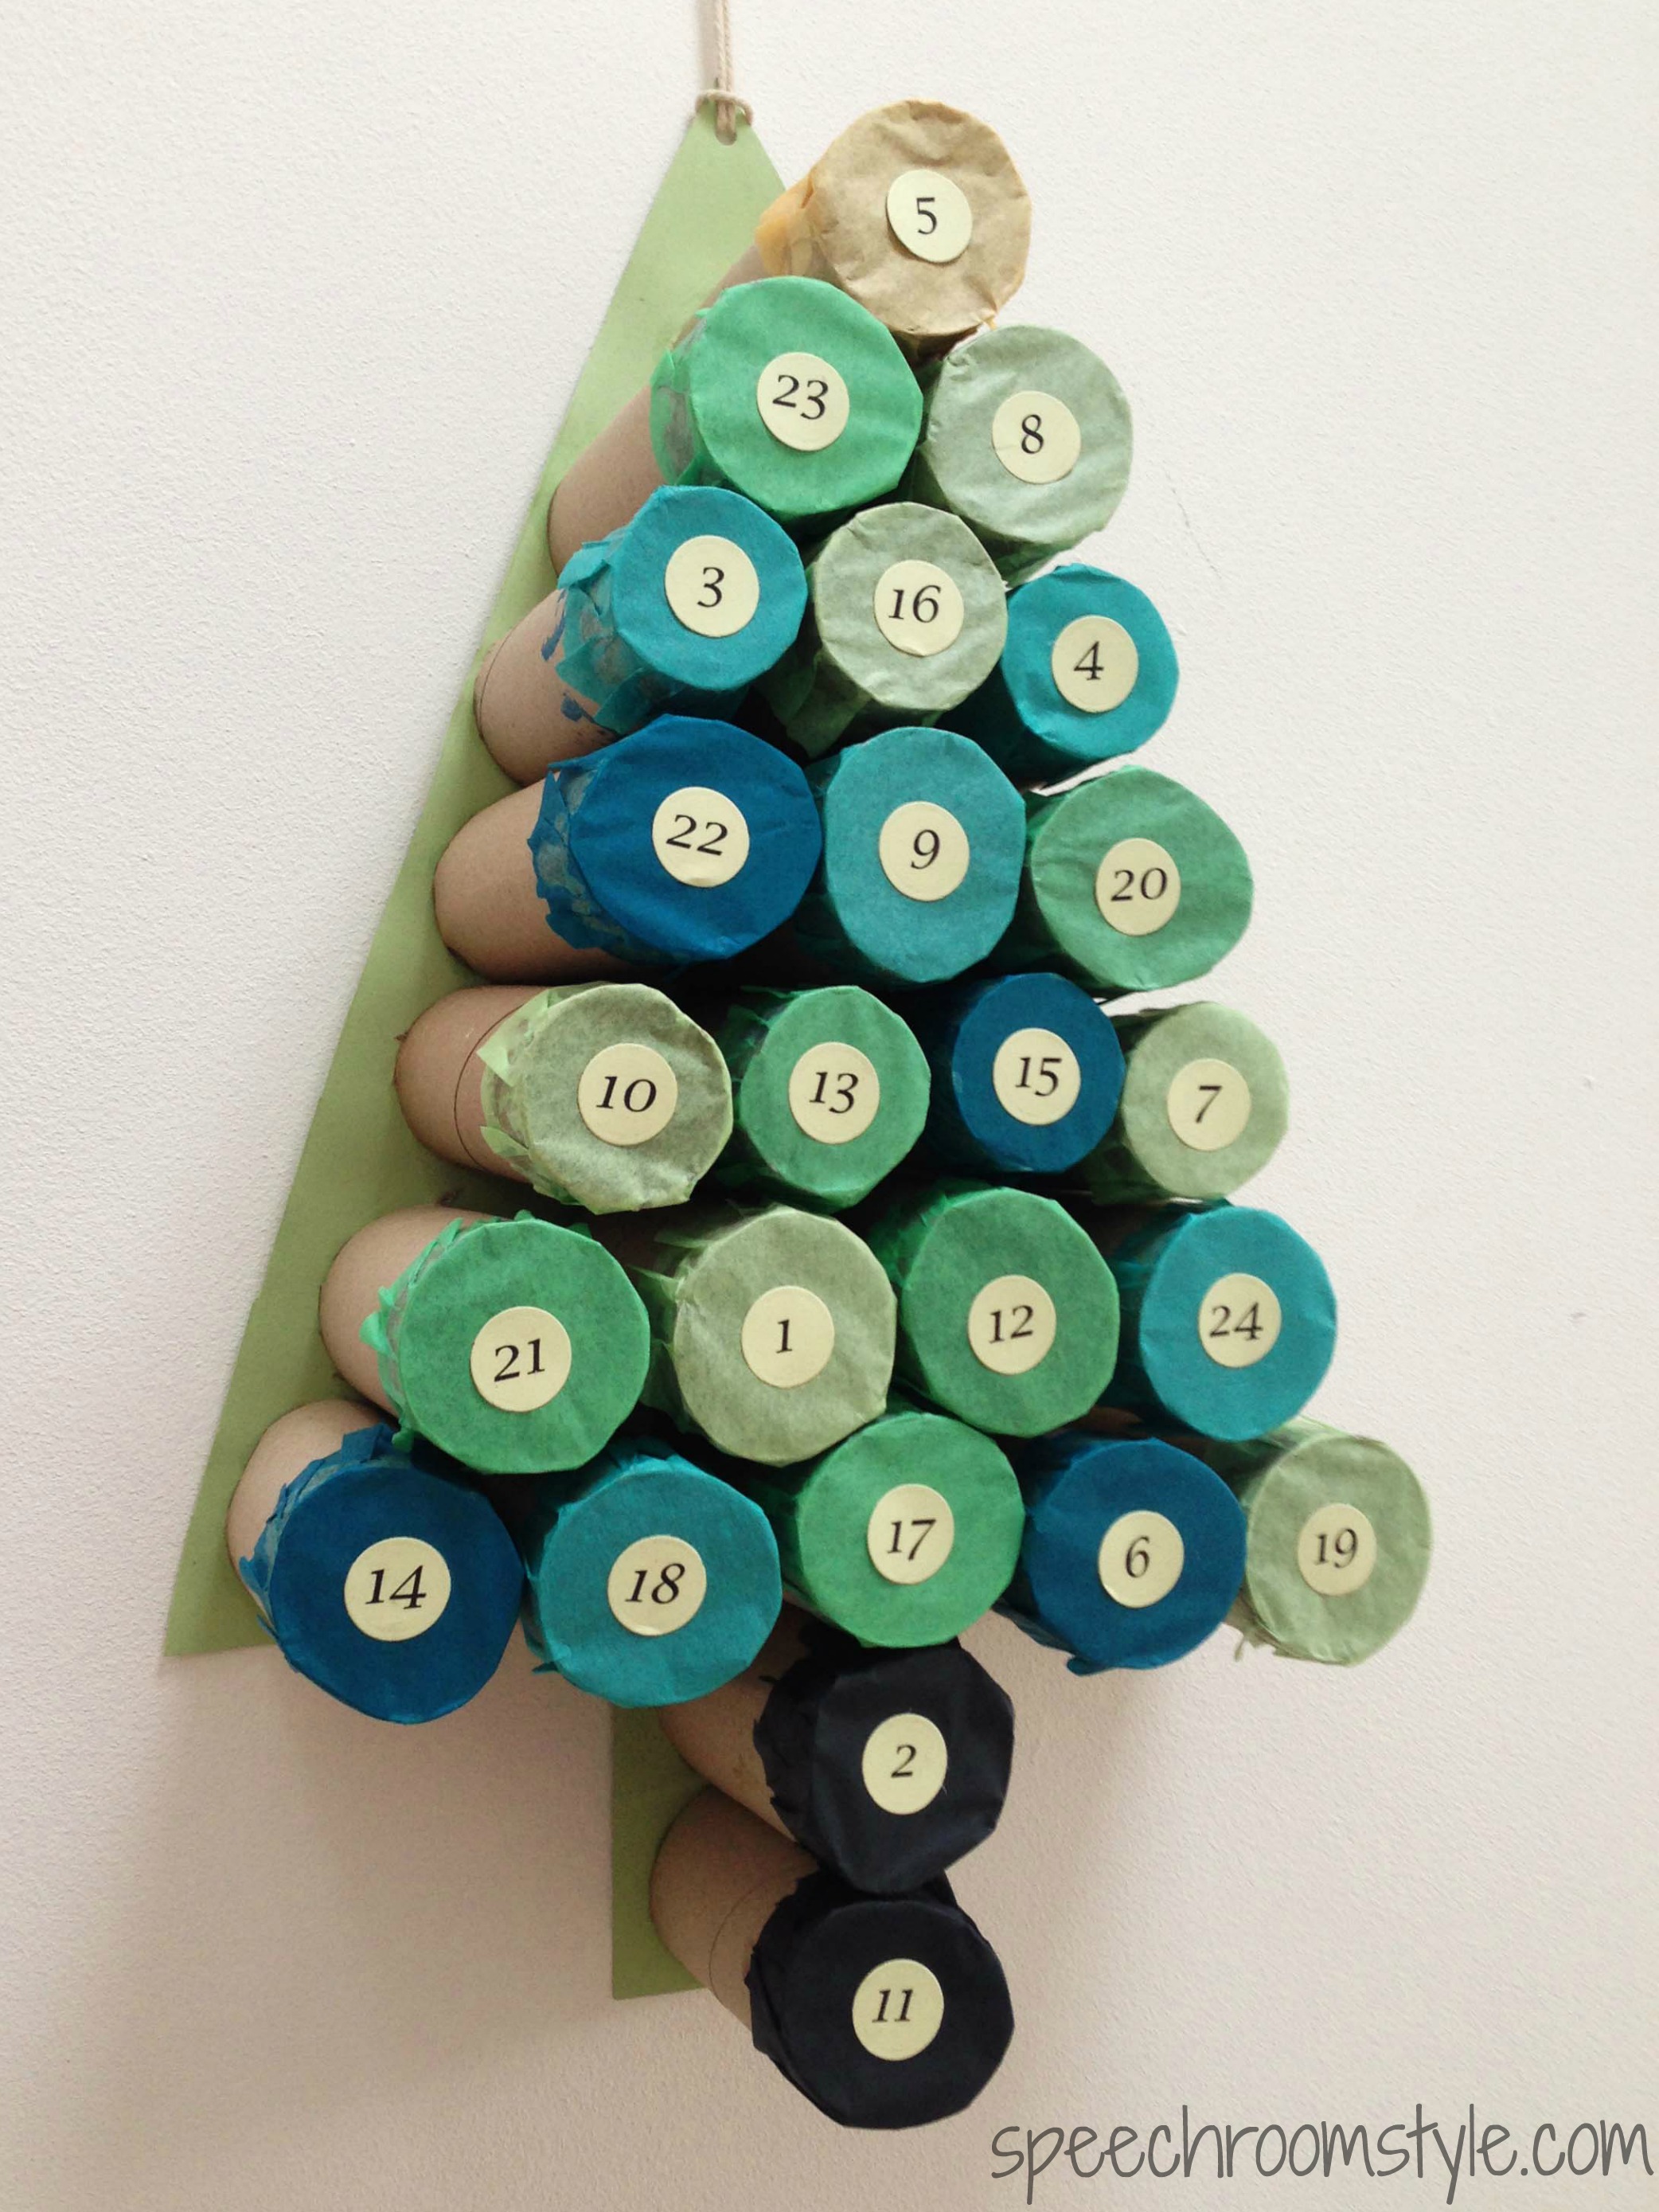
- Now you can arrange your rolls by color into the christmas tree shape – starting with 1 at the top and then working your way down – you can rearrange them as necessary until you find the tree shape that you like best. When you have the tubes arranged how you like, you will need to cut out your backing tree-shape. I did this by putting the card under the tubes and tracing the tree shape around them. Then I cut out the tree shape and replaced the tubes in position.
 Then you will need to cut circles around your 24 print-out advent calendar numbers. The ones I used are about 1″ diameter – a die-cutter is great for this! Stick these onto the middle of your tissue-paper tube tops.
- Now comes the fun bit! Filling your calendar! As this is made from glued card, I wouldn’t suggest putting anything too heavy in there – here are a few ideas: glitter foam stickers, lollipops, certificates for family game nights or movie nights, wash-off tatoos, a few chocolate coins, hair grips for girls, lego pieces, small stationery items…I’m sure you can come up with loads!
- As you fill your tubes with goodies, you can stick them in place on the backing card using lots of PVA glue. Leave overnight to set.
- Once dry, you can add the final touch: punch a hole in the top of your tree and thread through some cord to hang it in place.

Now you are ready to start the countdown to Christmas!
We hope you have enjoyed this Christmas craft and that you will have a go at making one for yourself! Keep watching this space for more Christmassy crafts to come…


Leave a Comment